Best Seasons for Creaky Floor Repairs
Creaky floor repairs are most effectively performed during periods of stable environmental conditions, typically in moderate weather seasons. Timing can influence the ease of repair and the longevity of results, making it important to consider seasonal factors.
Spring and fall are ideal for creaky floor repairs due to moderate humidity and temperature levels, which reduce wood expansion and contraction.
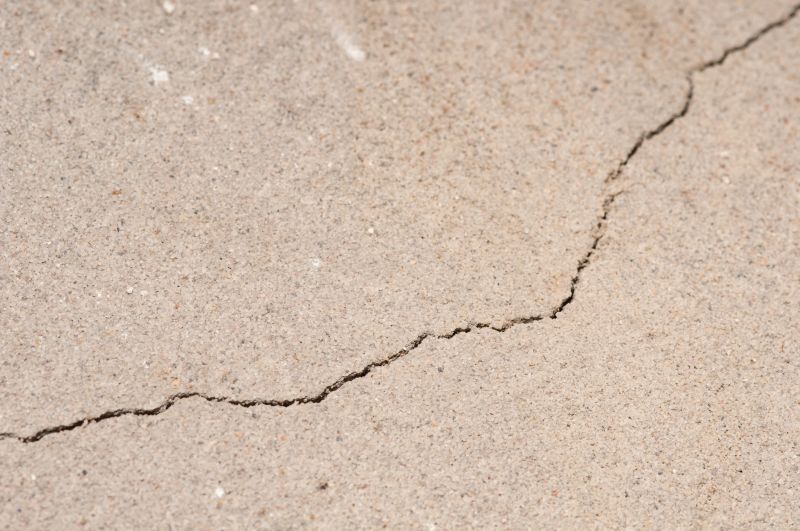
High humidity can cause wood to swell, while low humidity leads to shrinkage, affecting the repair process and durability.
Consistent temperatures help prevent wood movement, making repairs more stable and lasting longer.
Scheduling repairs during dry, moderate weather minimizes complications caused by moisture fluctuations.

Image depicting a technician inspecting a creaky floor with tools.

Close-up of floor joist reinforcement during repair.

Completed repair showing a smooth, stable surface.

Popular materials for Creaky Floor Repairs and why they hold up over time.

Simple add-ons that improve Creaky Floor Repairs without blowing the budget.

High-end options that actually feel worth it for Creaky Floor Repairs.
| Season | Advantages |
|---|---|
| Spring | Ideal due to mild weather and low humidity fluctuations. |
| Fall | Prepares floors for winter and avoids seasonal expansion. |
| Summer | Possible if humidity and temperature are controlled. |
| Winter | Less recommended due to increased moisture and temperature changes. |
| Late Spring/Early Fall | Optimal transition periods for repairs. |
Creaky floor repairs involve identifying the source of noise, which often stems from loose floorboards, squeaky joists, or shifting nails. Proper repair techniques include securing loose boards, reinforcing joists, or replacing damaged sections. Statistics indicate that properly timed repairs can extend the lifespan of flooring by several years and reduce the need for future extensive work.
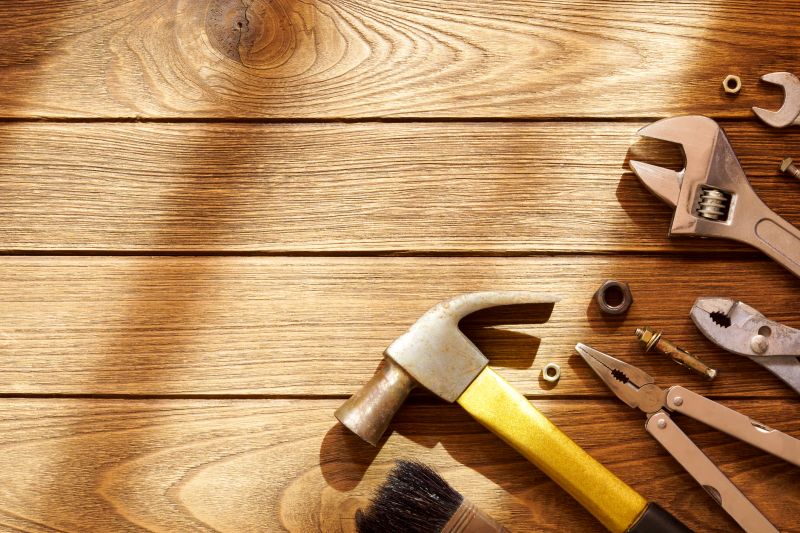
Tools used for securing and reinforcing floorboards.
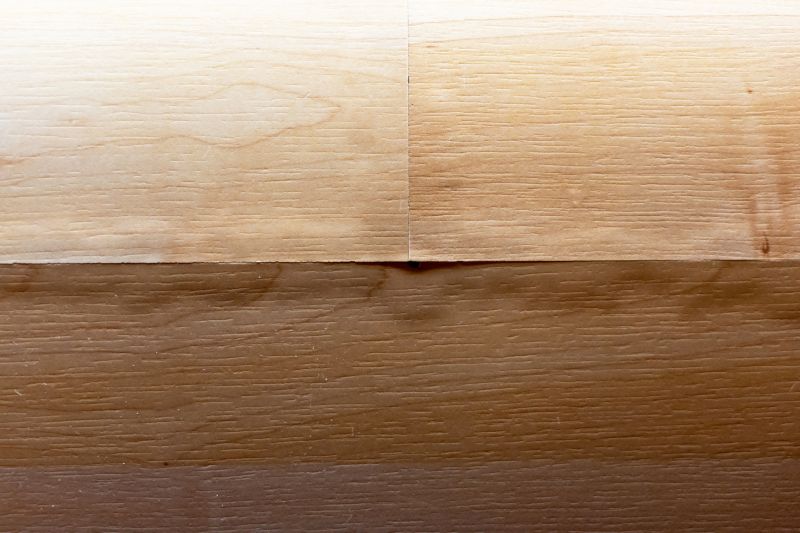
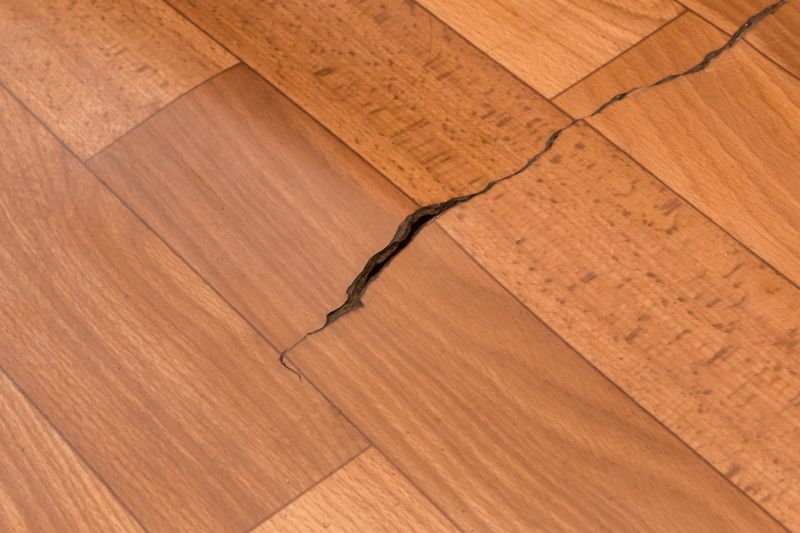
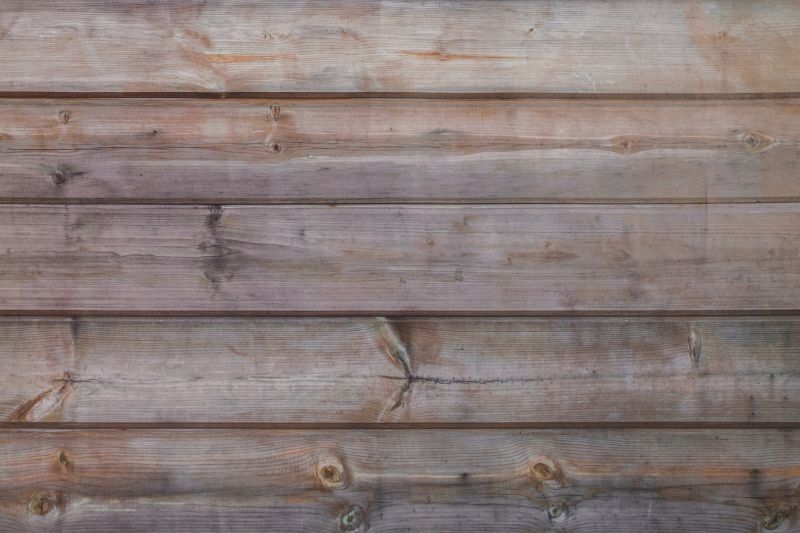
Floor with visible creaking and loose boards.
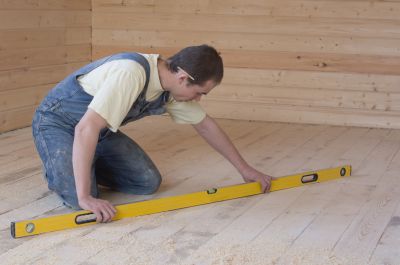
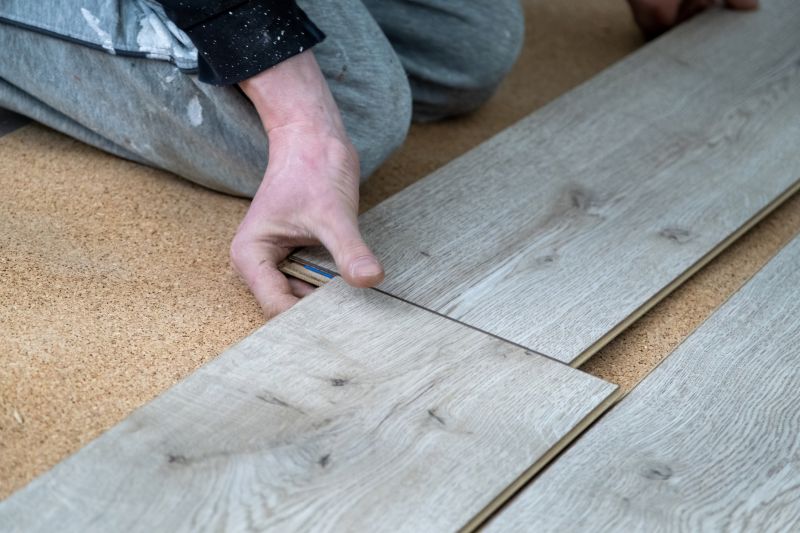
Worker securing a loose floorboard.
Floor surface after repairs are completed.
Finishes and colors that play nicely with Creaky Floor Repairs.

Little measurements that prevent headaches on Creaky Floor Repairs day.
A 60-second routine that keeps Creaky Floor Repairs looking new.
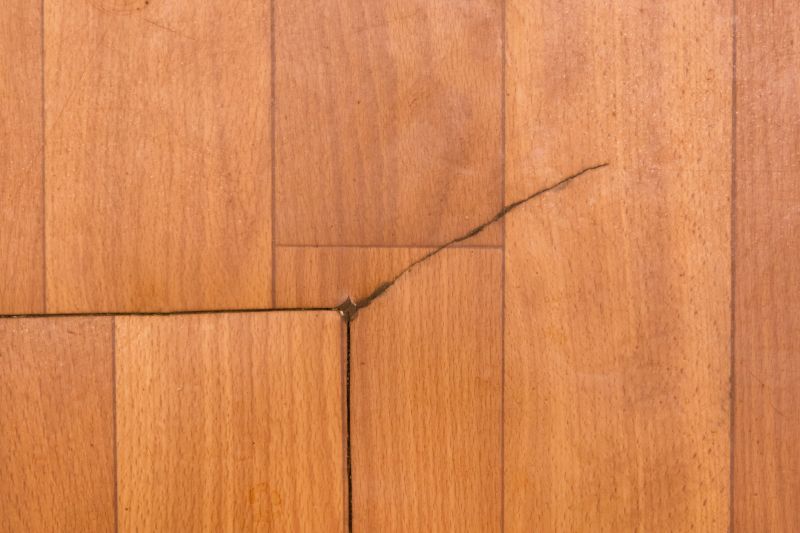
A frequent mistake in Creaky Floor Repairs and how to dodge it.

Small tweaks to make Creaky Floor Repairs safer and easier to use.

Lower-waste or water-saving choices for Creaky Floor Repairs.
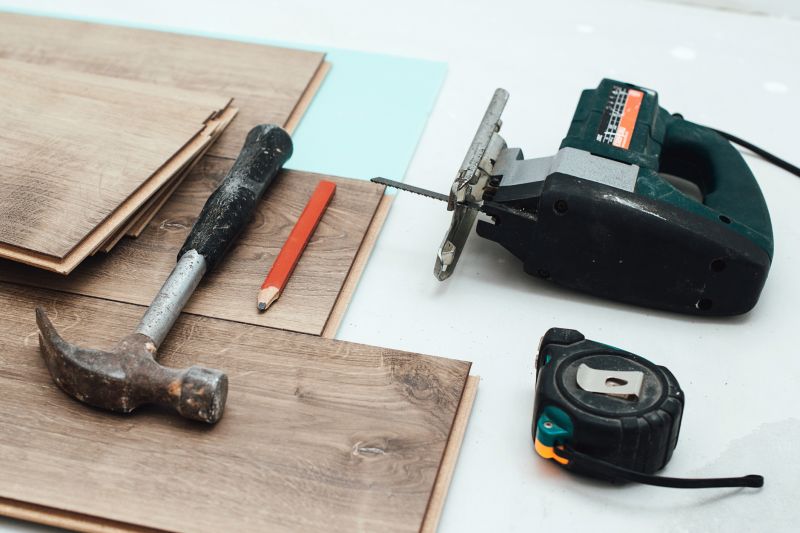
The short, realistic tool list for quality Creaky Floor Repairs.
Rough timing from prep to clean-up for Creaky Floor Repairs.
Timely repairs can prevent further damage and costly replacements. Regular inspections during stable weather periods help identify issues early. Properly maintained floors contribute to a safer, quieter environment and preserve property value.
Interested in repairing creaky floors? Fill out the contact form to get more information and schedule an assessment.